Have you ever tried opening a window only to find it crashes down the moment you let go? Or perhaps you’ve noticed your beautiful sash windows have become increasingly stubborn, refusing to glide up and down like they once did? If your period property’s windows are giving you grief, you’re certainly not alone.
Sash windows are a gorgeous feature in many Australian homes, particularly those charming Federation and Victorian-era properties. They add character, boost kerb appeal, and when working properly, provide excellent ventilation. But here’s the thing – these windows rely on a simple yet crucial component called the sash cord. When these cords wear out or snap, your once-smooth windows become a real headache to operate.
In this guide, we’ll walk you through everything you need to know about Sash Cord Replacement Sydney. You’ll learn how to spot the telltale signs of worn cords, understand whether this is a job you can tackle yourself, and discover the step-by-step process for getting your windows back to their former glory. Plus, we’ll cover the different cord types available, common mistakes to avoid, and when it might be time to call in a professional. Let’s get stuck into it and restore those windows to smooth, effortless operation.

What Is a Sash Cord and Why Does It Matter?
Understanding How Sash Windows Work
Sash windows operate on a beautifully clever counterbalance system that’s been around for centuries. Inside the window frame, hidden behind the side panels, you’ll find heavy cast iron or lead weights connected to the window sashes by cords running over pulleys. This ingenious design means the weights balance out the window’s weight, allowing you to open it with minimal effort.
When everything’s working as it should, you can slide the window up or down and it’ll stay exactly where you put it. No props needed, no wrestling with stubborn frames. The weights do all the heavy lifting, quite literally.
The Role of Sash Cords in Smooth Window Operation
The sash cord is essentially the connection point between your window and those hidden counterweights. These cords run from the sides of the window sash, up and over the pulleys at the top of the frame, and down to the weights concealed in the side pockets.
Without functional cords, the entire counterbalance system falls apart. Your window loses its support, making it difficult to open and impossible to keep in position. Think of the cord as the unsung hero of your sash window – small, often overlooked, but absolutely essential for proper operation.
Signs Your Sash Cords Need Replacing
Windows That Won’t Stay Open
The most obvious sign of worn sash cords is a window that simply won’t stay put. You push it open, and it immediately slides back down – sometimes gently, sometimes with a startling crash. This happens because the cord has snapped or stretched, disconnecting the window from its counterweight.
Frayed or Broken Cords
If you can see the cords where they attach to the window sash, take a close look. Fraying, thinning, or visible damage are clear indicators that replacement is overdue. Cotton cords, in particular, deteriorate over time due to moisture, friction, and simple age.
Difficulty Opening or Closing Windows
When cords are damaged but not completely broken, you might notice increased resistance when operating your windows. They feel heavy, sticky, or unbalanced. This often means one cord has failed while the other is still intact, creating uneven tension.
Uneven Window Movement
Speaking of uneven tension, if your window tilts or moves crookedly when you try to open it, there’s a good chance one side’s cord has given up whilst the other soldiers on. This puts extra strain on the remaining cord and can damage the window frame over time.
How Long Do Sash Cords Last?
Traditional cotton sash cords typically last between 30 to 60 years, depending on usage and environmental conditions. Homes near the coast or in humid climates may see shorter lifespans due to moisture affecting the natural fibres. Modern synthetic alternatives can last considerably longer, sometimes exceeding 50 years with minimal maintenance.
If your home is a period property that’s never had cord replacement, you’re likely well overdue for an upgrade. Many homeowners inherit properties where the original cords are approaching or exceeding a century old – impressive longevity, but definitely time for renewal.
Can You Replace Sash Cords Yourself?
DIY vs Professional Replacement: What to Consider
The good news? Sash cord replacement is absolutely achievable as a DIY project for anyone with basic handyman skills. It doesn’t require specialist tools or extensive experience. However, it does demand patience, attention to detail, and a methodical approach.
Consider calling a professional if your windows are particularly old or fragile, if multiple components need repair beyond just the cords, or if you’re uncomfortable working with older joinery. Heritage-listed properties may also have specific requirements worth consulting an expert about.
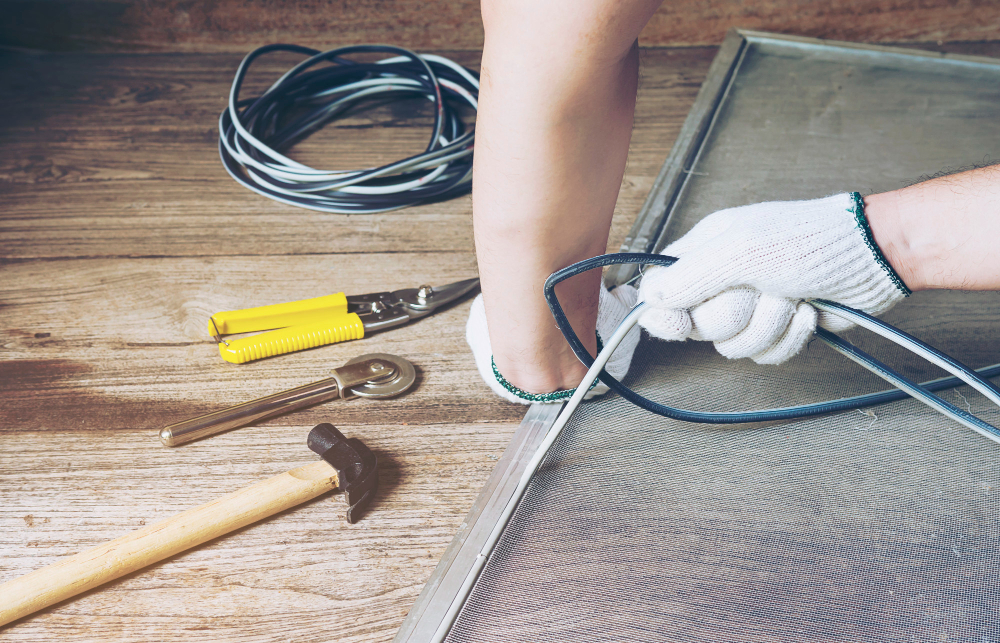
Tools and Materials You’ll Need
Before starting, gather these essentials:
- Replacement sash cord (measure your windows first)
- Screwdriver set
- Utility knife
- Hammer
- Small pry bar or chisel
- Masking tape
- Pencil for marking
- A friend to help hold the sash
How to Replace Sash Cords: A Step-by-Step Guide
Removing the Window Sash Safely
Start by removing the staff bead – that’s the thin wooden strip running down each side of the window frame. Use a chisel or pry bar carefully to avoid splitting the wood. Once removed, the lower sash should swing free. Cut any remaining cord attached to it.
Accessing the Sash Weights and Pulleys
Look for the pocket covers on the lower sides of the frame. These small panels provide access to the weights. Unscrew or pry them open carefully. Inside, you’ll find the weights resting at the bottom of their channels.
Removing the Old Cord
Pull the weights out and untie or cut the old cord from them. Remove any cord remnants from the pulleys and sash. Take this opportunity to clean out any debris from the weight pockets – decades of dust accumulate in there.
Fitting the New Sash Cord
Thread your new cord over the pulley. A small weight tied to a string (a “mouse”) helps feed it through. Tie the cord securely to the weight, leaving enough length to reach the sash. Knot it firmly to the side of the sash where the old cord attached.
Reassembling Your Window
Replace the pocket covers, slide the sash back into position, and reattach the staff beads. Test the window operation. It should glide smoothly and stay in position when released.
What Type of Cord Is Best for Sash Windows?
Traditional Cotton Sash Cord
Waxed cotton cord remains popular for heritage restorations. It’s authentic, readily available, and provides smooth operation. However, cotton is susceptible to moisture damage and general wear.
Synthetic and Pre-Stretched Options
Modern synthetic cords, particularly pre-stretched polyester varieties, offer superior durability and resistance to moisture. They’re less prone to stretching over time, meaning your windows maintain proper balance longer. For most practical purposes, synthetic cord is the smarter choice.
Common Mistakes to Avoid When Replacing Sash Cords
Don’t rush the job – patience prevents damage to delicate timber components. Avoid cutting cords too short, as you need adequate length for proper weight travel. Always replace cords in pairs; if one has failed, the other is likely close behind. Finally, don’t forget to check your pulleys – worn pulleys accelerate cord wear.
When to Call a Professional for Sash Window Repairs
Beyond simple cord replacement, professionals should handle extensive rot repairs, broken weights, damaged frames, or stuck sashes that won’t budge. If you’re dealing with heritage-listed windows requiring specific restoration techniques, expert guidance is invaluable.
Maintaining Your Sash Windows After Cord Replacement
Once your cords are replaced, keep windows operating smoothly by cleaning channels regularly, lubricating pulleys annually with a silicone-based spray, and addressing any sticking promptly before it causes cord strain.
Enjoy Smooth, Effortless Windows Once Again
Replacing sash cords might seem daunting at first glance, but it’s genuinely one of the more satisfying home maintenance tasks you can tackle. There’s something wonderfully rewarding about transforming a stubborn, stuck window into something that glides effortlessly with a gentle push.
Whether you’ve chosen the DIY route or decided to bring in a professional, the result is the same – beautifully functioning windows that enhance your home’s character and comfort. Your period property deserves windows that work as elegantly as they look, and fresh sash cords deliver exactly that.
So go ahead, give those neglected windows some well-deserved attention. With the knowledge you’ve gained here, you’re well-equipped to restore smooth operation and enjoy your sash windows for many years to come. Your future self, enjoying a perfectly positioned window on a warm afternoon, will thank you.