Why ComfyUI Has Become the Standard for Generative AI Workflows
Generative image synthesis has evolved from simple text prompt generation into intricate, multi-stage production pipelines for digital artists and software engineers. While early web user interfaces offered accessible entry points, they lacked the architectural modularity required for professional creative control.
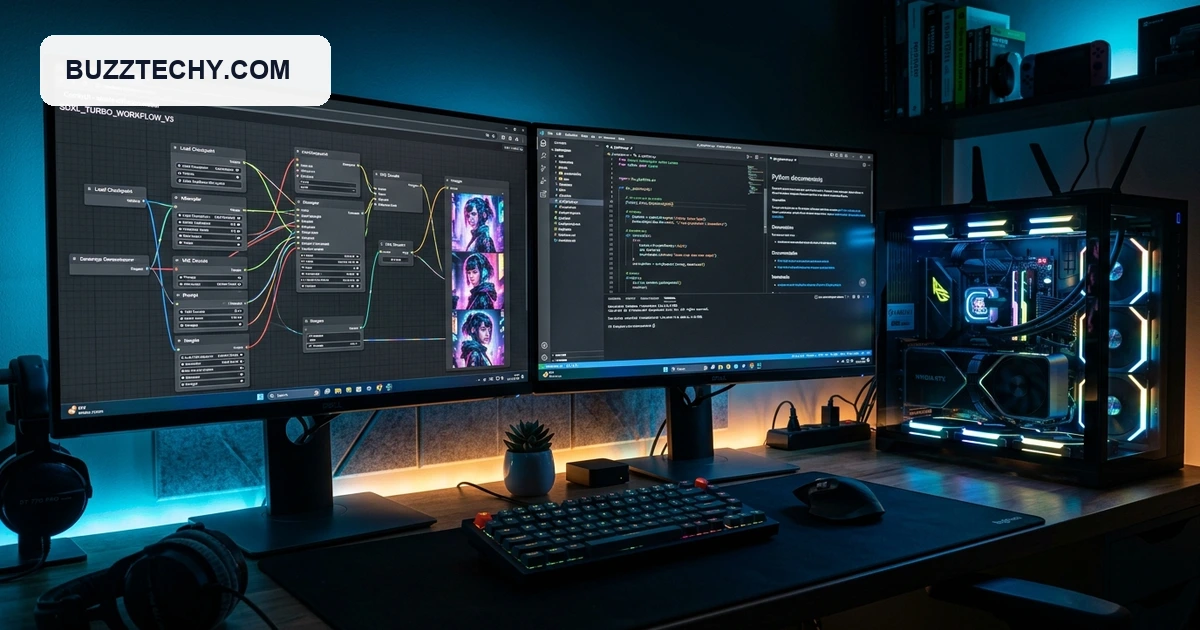
ComfyUI has established itself as the leading node-based graphical interface for Stable Diffusion, SDXL, Flux and cutting-edge open-source generative models. Built upon a powerful visual graph execution engine, ComfyUI allows creators to connect individual model components, conditioning pipelines and samplers visually.
Unlike monolithic user interfaces that execute fixed background generation sequences, ComfyUI only re-executes graph nodes whose inputs have changed. This intelligent caching architecture dramatically reduces generation latency, conserves video memory and prevents system crashes during high-resolution upscaling tasks. For complementary local model deployment, check out our guide on how to run DeepSeek R1 locally with Ollama.
Hardware and Software Prerequisites for Windows Systems
Before initiating the installation process, ensure your personal computer meets the necessary hardware specifications to run generative models locally. Local artificial intelligence inference relies heavily on graphics processing unit capabilities, specifically dedicated video random access memory.
An NVIDIA graphics card equipped with at least eight gigabytes of VRAM represents the recommended baseline for standard SDXL image generation. Power users working with massive models such as Flux Dev or execute intensive LoRA training benefit significantly from twelve to twenty-four gigabytes. While AMD graphics cards and CPU inference are technically supported, NVIDIA CUDA cores provide vastly superior inference speeds and broader library compatibility.
On the software side, ensure your Windows system is running a modern sixty-four bit version of Windows 10 or Windows 11. Allocate at least fifty gigabytes of free solid-state drive storage to accommodate base application files, custom nodes and large neural model checkpoints. Installing ComfyUI on an NVMe solid-state drive ensures lightning-fast model loading times during workflow execution.
Method 1: Quick Installation via the Official Standalone Portable Build
For most Windows users, utilizing the official standalone portable archive provides the fastest and most reliable installation route. The portable release packages an embedded Python environment, PyTorch libraries and all necessary CUDA dependencies into a self-contained folder structure.
To begin, navigate to the official ComfyUI GitHub repository and locate the direct download link for the Windows standalone build. Download the seven-zip compressed archive, which typically measures approximately one point four gigabytes in compressed size. Once downloaded, extract the entire archive to a convenient directory location such as C drive root or a dedicated AI drive.
Ensure the destination folder path contains no spaces or special characters to prevent path resolution errors in embedded Python scripts. Inside the extracted directory, you will find two primary execution batch scripts: run_cpu.bat and run_nvidia_gpu.bat. Running the nvidia_gpu batch file launches the local web server and automatically opens ComfyUI inside your default web browser.
Method 2: Manual Installation via Git for Developers and Advanced Users
Developers and software engineers who require granular control over Python environments, custom dependency branches and automated updates should choose manual Git installation. This method allows you to track upstream code releases effortlessly while managing custom package environments.
First, download and install Git for Windows from the official git-scm website using standard default installation parameters. Second, install Python version 3.11 or 3.12, ensuring you select the critical checkbox labeled Add Python to PATH during setup. Open your Windows command terminal or PowerShell console and clone the official repository using git clone https://github.com/comfyanonymous/ComfyUI.git.
Navigate into the newly cloned ComfyUI folder and establish an isolated virtual Python environment using python -m venv venv. Activate your virtual environment and install PyTorch with CUDA acceleration enabled using the official torch command line parameters. Finally, execute pip install -r requirements.txt to install all remaining core application dependencies cleanly. For coding tooling recommendations, explore our evaluation of the best local LLM for coding.
Downloading and Organizing Model Checkpoints and VAE Files
A fresh ComfyUI installation contains the core graphical interface and execution graph logic, but requires model weights to generate images. Downloading high-quality checkpoint models and placing them in their designated directories represents the next vital configuration step.
Download your preferred checkpoint models, such as SDXL base or realistic fine-tuned community models, from reputable repositories like Hugging Face or Civitai. Place all downloaded checkpoint files with .safetensors extensions directly inside the ComfyUI/models/checkpoints directory. Safetensors format provides complete protection against arbitrary code execution vulnerabilities present in obsolete pickle-based model formats.
Similarly, download dedicated Variational Autoencoder files and place them inside the ComfyUI/models/vae directory folder. Dedicated VAE models correct washed-out colors, improve edge contrast and enhance fine textural details in generated digital artwork. Place LoRA weights inside ComfyUI/models/loras and text upscaler models inside ComfyUI/models/upscale_models to keep your assets neatly organized.
Installing ComfyUI Manager and Essential Custom Nodes
The true power of ComfyUI lies in its open-source ecosystem of community-developed custom nodes and workflow extensions. Installing ComfyUI Manager is mandatory for searching, installing and updating third-party nodes directly from within the browser interface.
To install ComfyUI Manager, open your terminal and navigate inside the ComfyUI/custom_nodes directory. Execute git clone https://github.com/ltdrdata/ComfyUI-Manager.git to download the manager extension directly into your custom nodes folder. Restart your ComfyUI server, and a convenient new Manager button will appear in the main control panel.
Through the Manager interface, search and install essential community node packs including Impact Pack, ControlNet auxiliary preprocessors and Advanced CLIP text encoders. If you open a shared workflow created by another artist that contains missing nodes, ComfyUI Manager automatically installs all required dependencies with one click.
Troubleshooting Common CUDA and Python Dependency Errors
While ComfyUI runs reliably on modern hardware, users occasionally encounter configuration conflicts during initial setup or custom node installation. Understanding how to diagnose these technical hurdles prevents frustration and keeps your creative workflow moving forward smoothly.
The most frequent error message indicates that CUDA is not available, forcing PyTorch to fall back onto sluggish central processor execution. This issue typically arises when users manually install PyTorch without specifying the exact CUDA runtime version matching their installed NVIDIA display drivers. To resolve this mismatch, uninstall PyTorch and reinstall the specific CUDA build matching your system through the official PyTorch website.
Another common hurdle involves out-of-memory errors when processing massive high-resolution latents or complex multi-stage LoRA stacks. When your GPU runs short on memory, Windows attempts to utilize system shared memory, causing severe generation slowdowns. Users can resolve memory pressure by reducing latent generation dimensions or applying tiled diffusion decoding nodes during the final upscaling stage.
Optimizing Performance, Command Line Flags, and Memory Management
Configuring proper command line execution arguments ensures ComfyUI utilizes your hardware capabilities with maximum speed and memory efficiency. You can modify these execution arguments directly inside your run_nvidia_gpu.bat script using any standard text editor.
Users operating with six to eight gigabytes of VRAM should append the –lowvram or –medvram argument flag to prevent out-of-memory errors. The –preview-method auto flag activates real-time latent image previews during sampling steps, allowing you to monitor image composition progression live. Adding –fp8_e4m3fn-text-enc enables low-precision text encoding, saving substantial memory when operating modern heavy models.
Mastering ComfyUI on Windows provides digital artists and developers with an unconstrained, highly efficient local generative AI workstation. With your local installation complete, you possess full ownership over your creative workflows without recurring subscription fees or cloud privacy concerns.